Table of contents
- Let's Start
- Source code
- Conclusion
In this article, you will see the POST, PUT, PATCH, and DELETE protocols. So for that, we will make a web application.
Let's Start
Step 1 - Package Installation
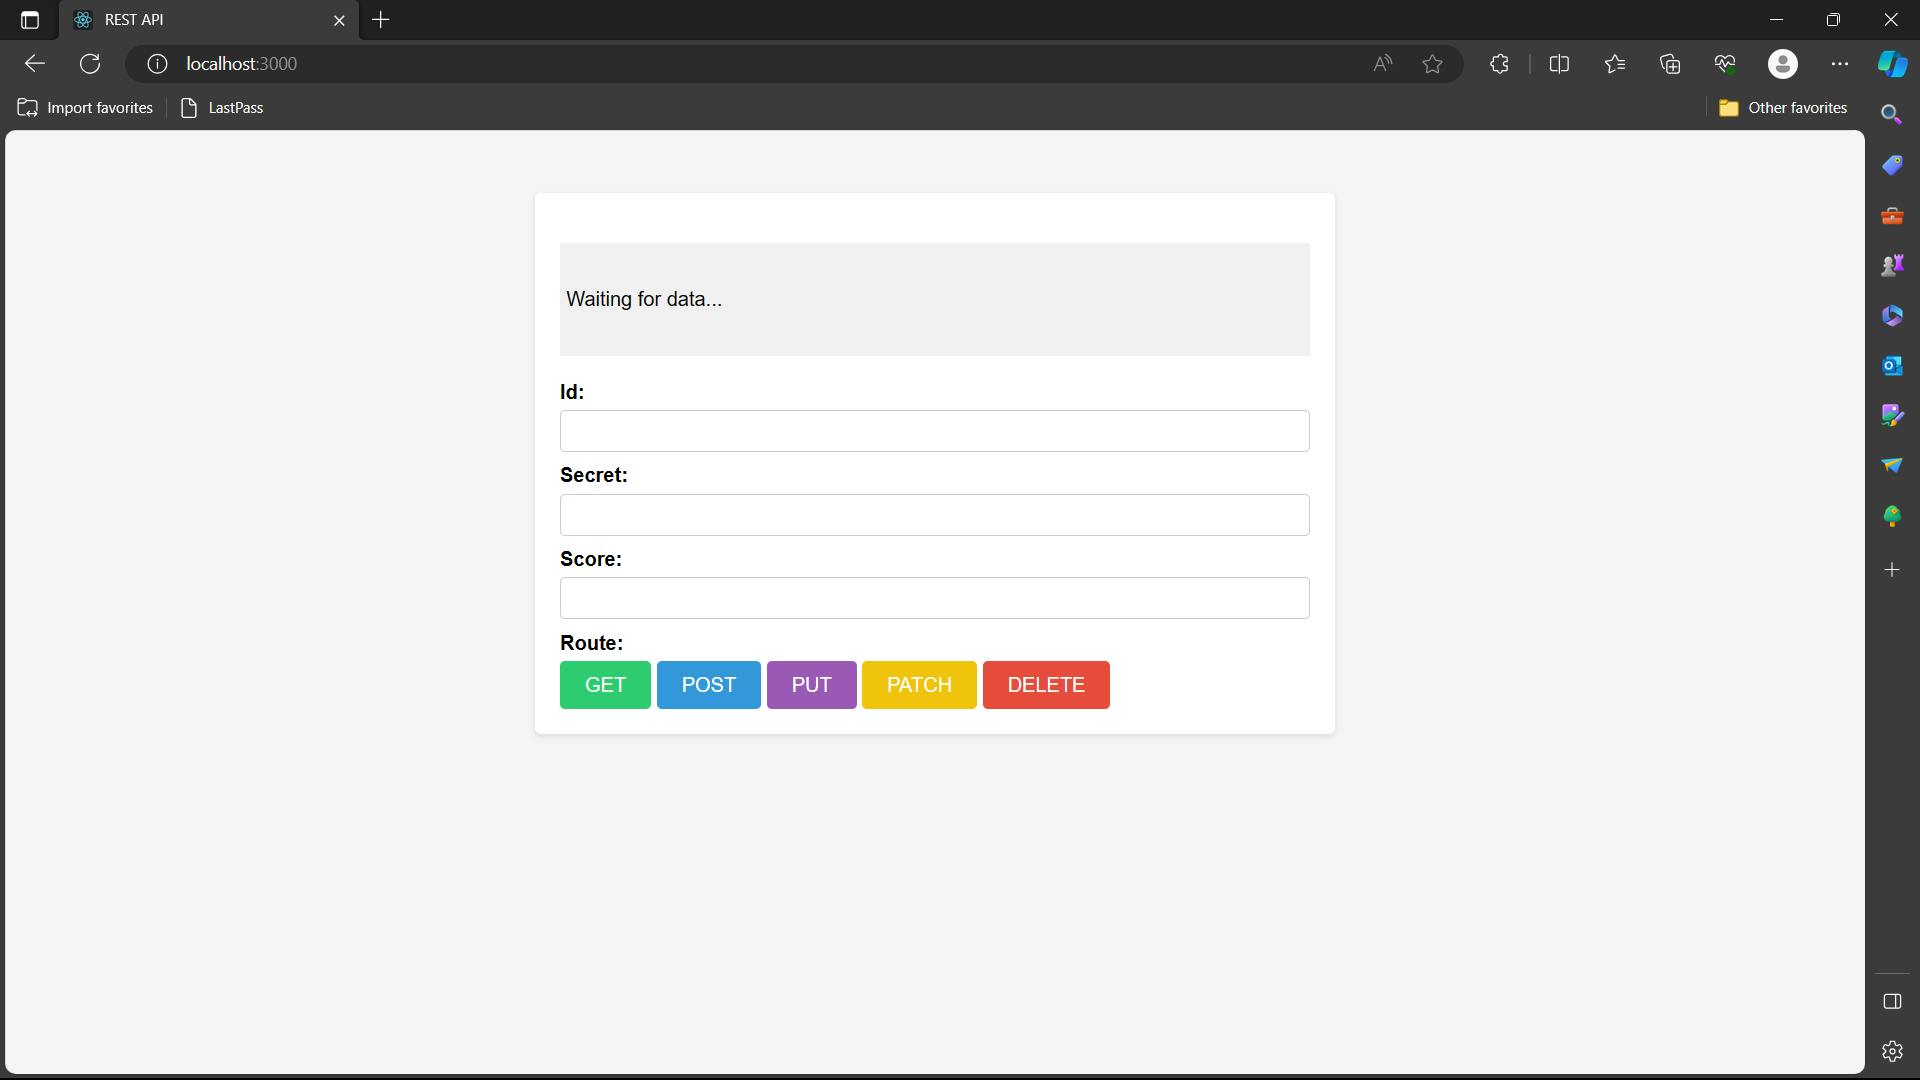
We will make a form and a route that is will provide options for GET, POST, PATCH, PUT, and DELETE Protocols.
npm install axios express body-parser nodemon
Step 2 - File Structure
Make folder views and make a file index.ejs inside it. Also, make index.js outside the views folder.

Step 3 - Making a Frontend
<!--index.ejs-->

<!DOCTYPE html>
<html>

<head>
  <meta charset="UTF-8">
  <meta name="viewport" content="width=device-width, initial-scale=1.0">
  <title>REST API</title>

</head>

<style>
      body {
      font-family: Arial, sans-serif;
      background-color: #f5f5f5;
      margin: 0;
      padding: 0;
    }

    .container {
      max-width: 600px;
      margin: 50px auto;
      background-color: #fff;
      padding: 20px;
      border-radius: 5px;
      box-shadow: 0 2px 5px rgba(0, 0, 0, 0.1);
    }

    h1 {
      text-align: center;
    }

    form {
      margin-top: 20px;
    }

    label {
      display: block;
      margin-bottom: 5px;
      font-weight: bold;
    }

    input[type="text"],
    input[type="number"] {
      width: 100%;
      padding: 8px;
      border: 1px solid #ccc;
      border-radius: 4px;
      box-sizing: border-box;
      margin-bottom: 10px;
    }

    input[type="submit"] {
      color: #fff;
      padding: 10px 20px;
      border: none;
      border-radius: 4px;
      cursor: pointer;
      font-size: 16px;
    }


    .response-area {
      margin-top: 20px;
      background-color: #f0f0f0;

      padding: 20px 5px;
    }

    #get {
      background-color: #2ecc71;
    }

    #get:hover {
      background-color: #27ae60;
    }

    #post {
      background-color: #3498db;
    }

    #post:hover {
      background-color: #2980b9;
    }

    #put {
      background-color: #9b59b6;
    }

    #put:hover {
      background-color: #8e44ad;
    }

    #patch {
      background-color: #f1c40f;
    }

    #patch:hover {
      background-color: #f39c12;
    }

    #delete {
      background-color: #e74c3c;
    }

    #delete:hover {
      background-color: #c0392b;
    }
</style>

<body>
  <div class="container">
    <div class="response-area">
      <p>
        <%= content %>
      </p>
    </div>
    <form id="myForm" method="post">
      <label for="idInput">Id:</label>
      <input type="text" id="idInput" name="id">

      <label for="secretInput">Secret:</label>
      <input type="text" id="secretInput" name="secret">

      <label for="scoreInput">Score:</label>
      <input type="number" id="scoreInput" name="score">

      <label for="submit">Route:</label>
      <input id="get" type="submit" value="GET" formaction="/get-secret">
      <input id="post" type="submit" value="POST" formaction="/post-secret">
      <input id="put" type="submit" value="PUT" formaction="/put-secret">
      <input id="patch" type="submit" value="PATCH" formaction="/patch-secret">
      <input id="delete" type="submit" value="DELETE" formaction="/delete-secret">
    </form>
  </div>
</body>

</html>
Step 4 - Start a Server
inside index.js start a server on port and render the index.ejs
//index.js

import express from "express";

const app = express();
const port = 3000;

app.get("/", (req, res) => {
  res.render("index.ejs", { content: "Waiting for data..." });
});

app.listen(port, () => {
  console.log(`Server is running on port ${port}`);
});
Write nodemon index.js in terminal and you wi;l see the below frontend
Step 5 - Making a GET Request using Axios
Making of GET Request is the same as you have seen in the previous blog.
//index.js

import axios from "axios";
import bodyParser from "body-parser";

const APIURL = "https://secrets-api.appbrewery.com";

const Token = "d0972a43-aa27-4cf3-9f94-9ed56acad04d";
const config = {
  headers: { Authorization: `Bearer ${Token}` },
};

app.use(bodyParser.urlencoded({ extended: true }));

app.post("/get-secret", async (req, res) => {
  const searchId = req.body.id;
  try {
    const result = await axios.get(APIURL + "/secrets/" + searchId, config);
    res.render("index.ejs", { content: JSON.stringify(result.data) });
  } catch (error) {
    res.render("index.ejs", { content: JSON.stringify(error.response.data) });
  }
});
In the web application write any Id and hit GET, you will get some data as shown below

Step 6 - Making of POST Request
Now POST has 3 parameter
URL (compulsory parameter)
data/body (optional) -> username, the password will be from the form
config (optional) -> headers
//index.js

app.post("/post-secret", async (req, res) => {
  try {
    //1st Parameter - URL
    //2nd Parameter - data (id, secret, score) - Javascript Object
    //3rd Paramter - config - header - needed for authentication (Token)
    const result = await axios.post(APIURL + "/secrets", req.body, config);

    //sending the data to as a content in index.ejs
    res.render("index.ejs", { content: JSON.stringify(result.data) });
  } catch (error) {
    res.render("index.ejs", { content: JSON.stringify(error.response.data) });
  }
});
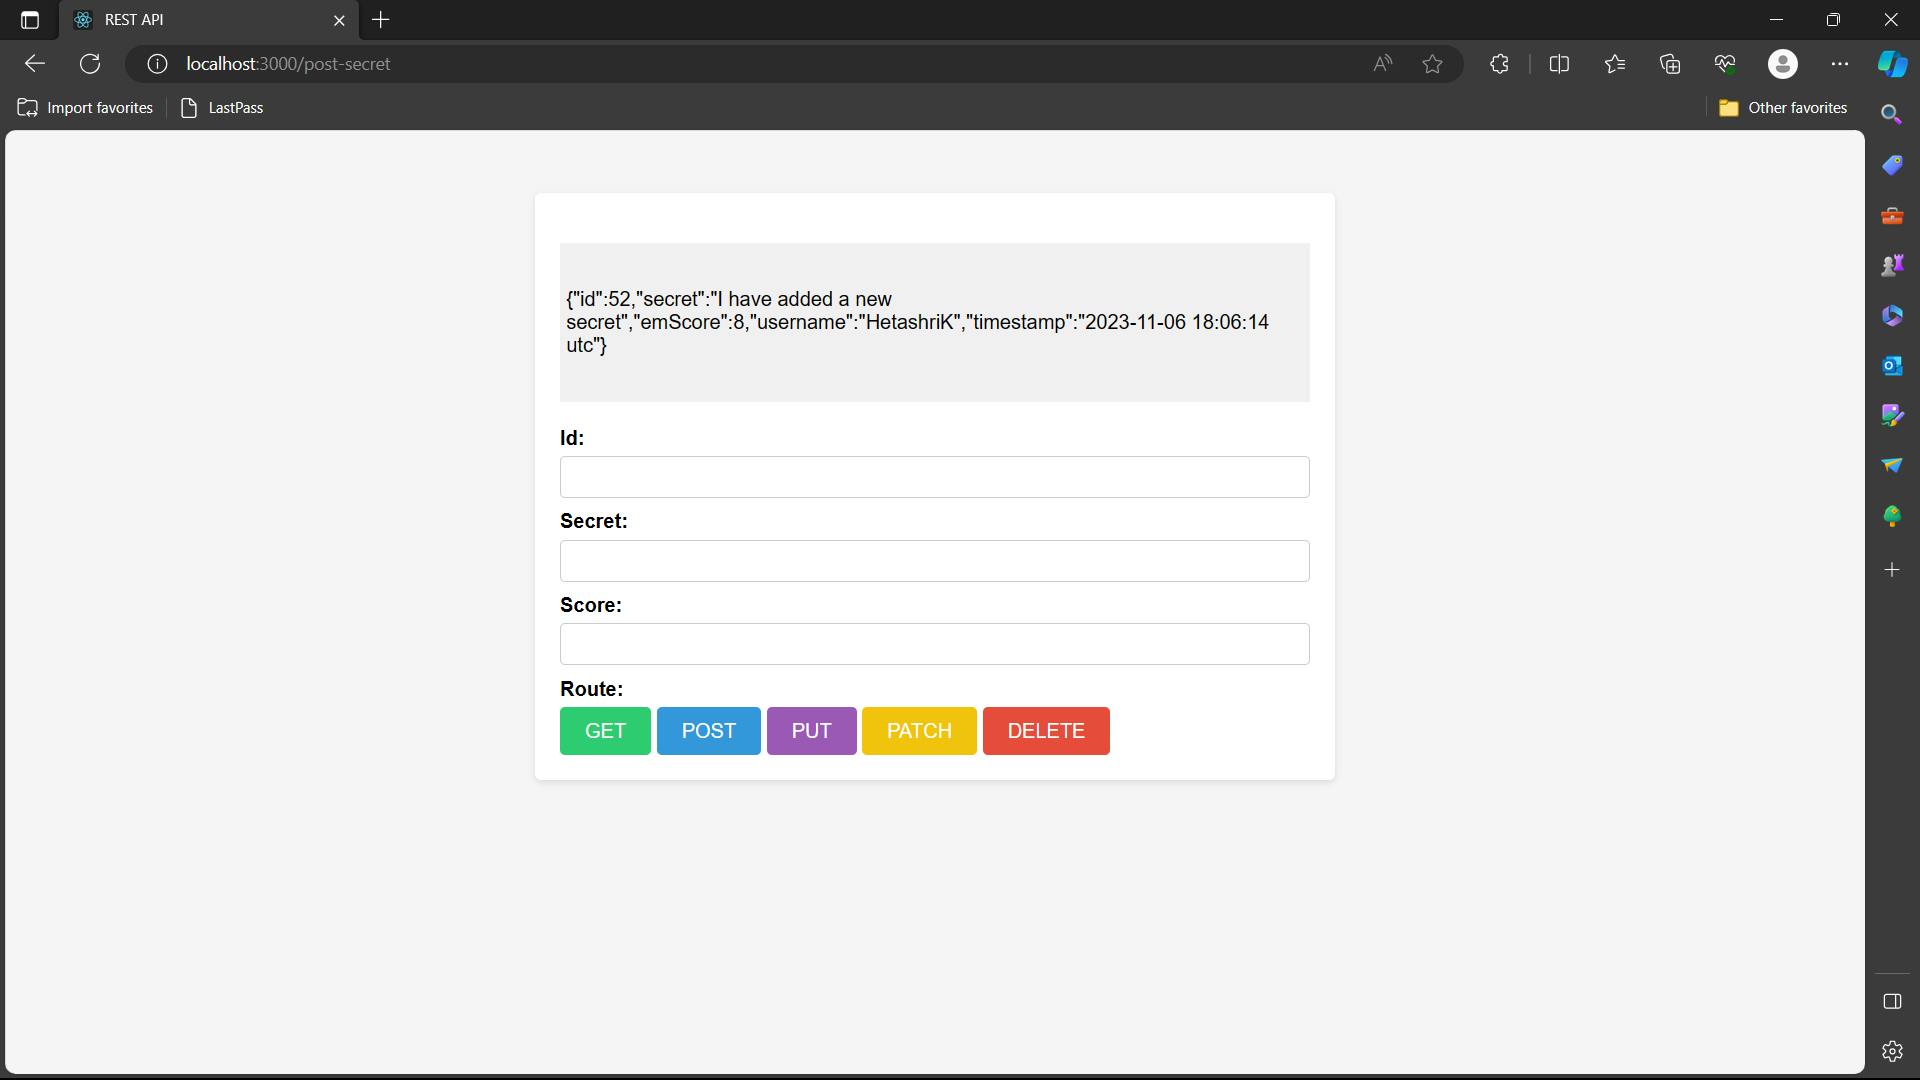
In the web application write the ID, secrets and score that you want to add and hit POST, you will see your secrets being stored in the backend and shown to you.
Input - input the data and then hit POST

Output
Step 7 - Making of PUT Request
PUT provides all the data that we have changed in the backend. It will replace with entire entry in the backend
Now PUT has 3 parameter
URL (compulsory parameter)
data/body (optional) -> username, the password will be from the form
config (optional) -> headers
  app.post("/put-secret", async (req, res) => {
    const searchId = req.body.id;
    try {
      //1st Parameter - URL
      //2nd Parameter - data (id, secret, score) - Javascript Object
      //3rd Paramter - config - header - needed for authentication (Token)
      const result = await axios.put(APIURL + "/secrets/" + searchId, req.body, config);

      //sending the data to as a content in index.ejs
      res.render("index.ejs", { content: JSON.stringify(result.data) });
    } catch (error) {
      res.render("index.ejs", { content: JSON.stringify(error.response.data) });
    }
  });
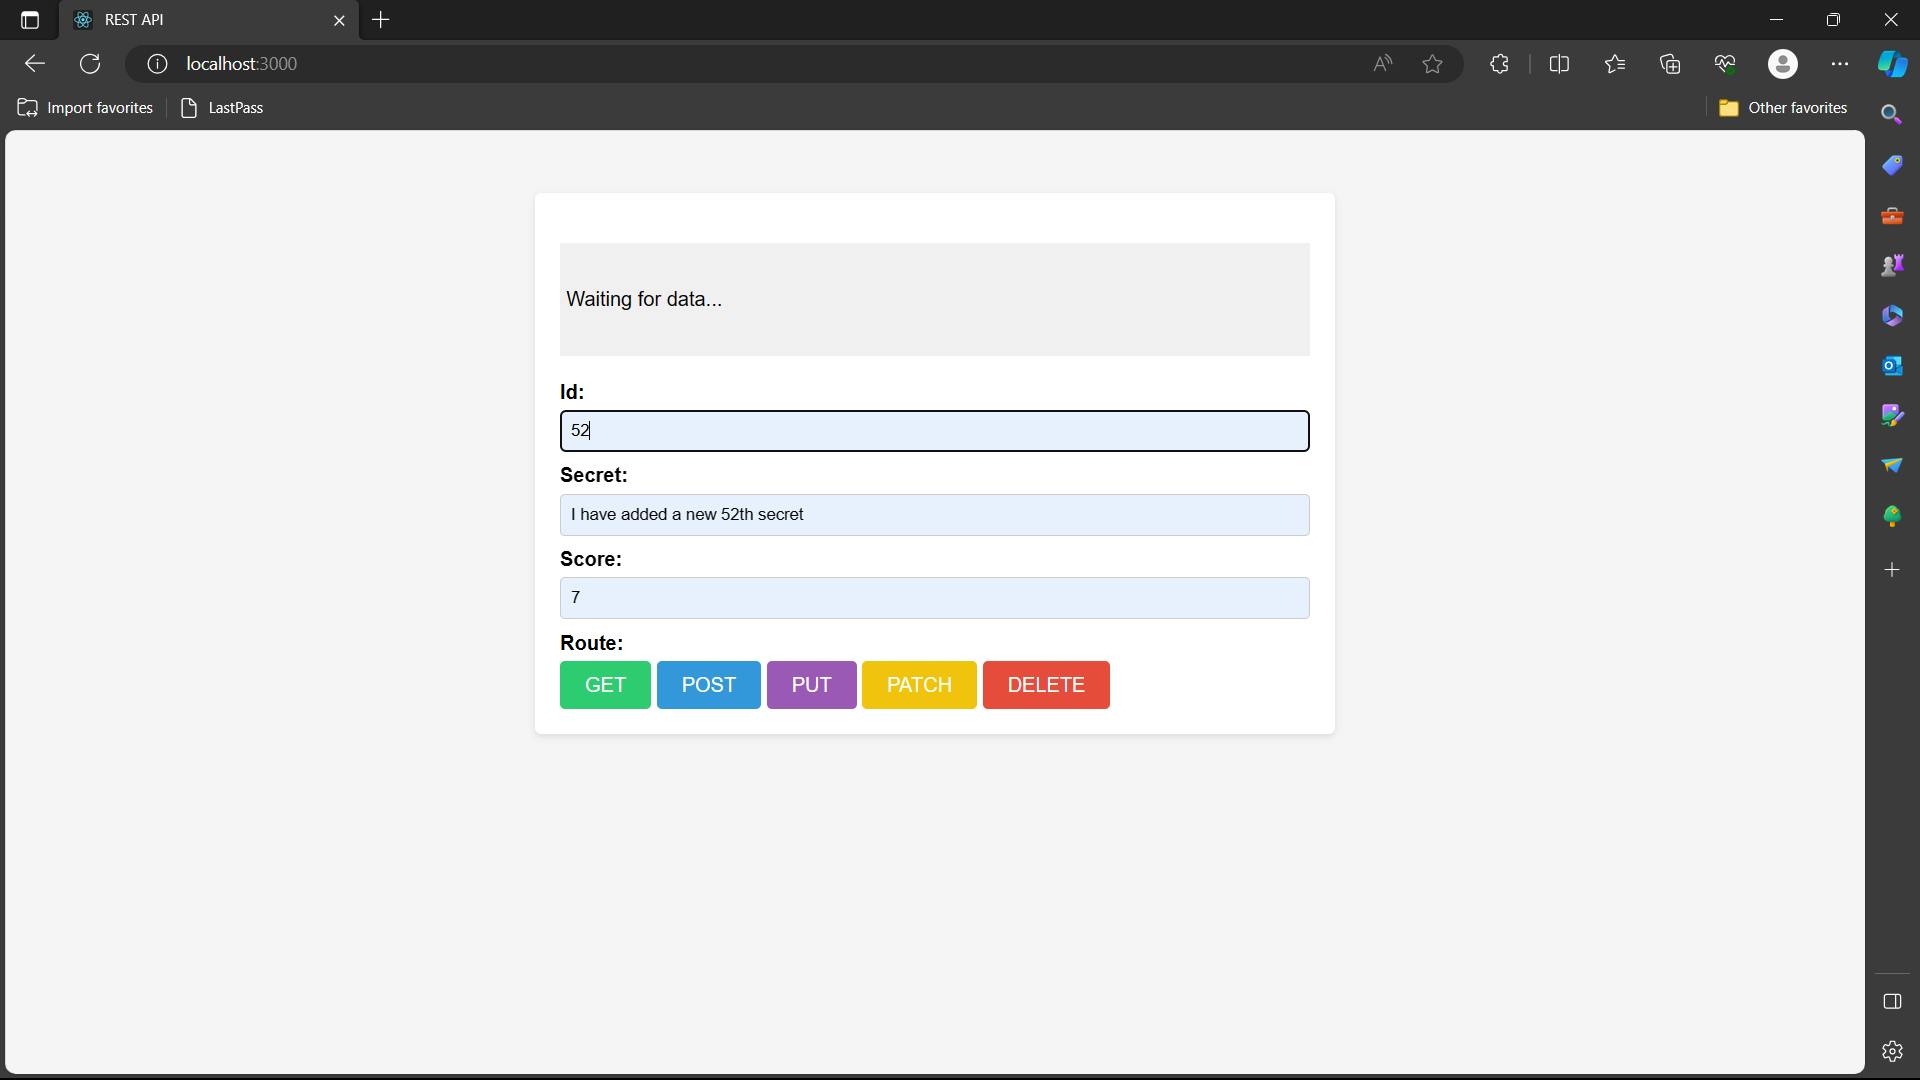
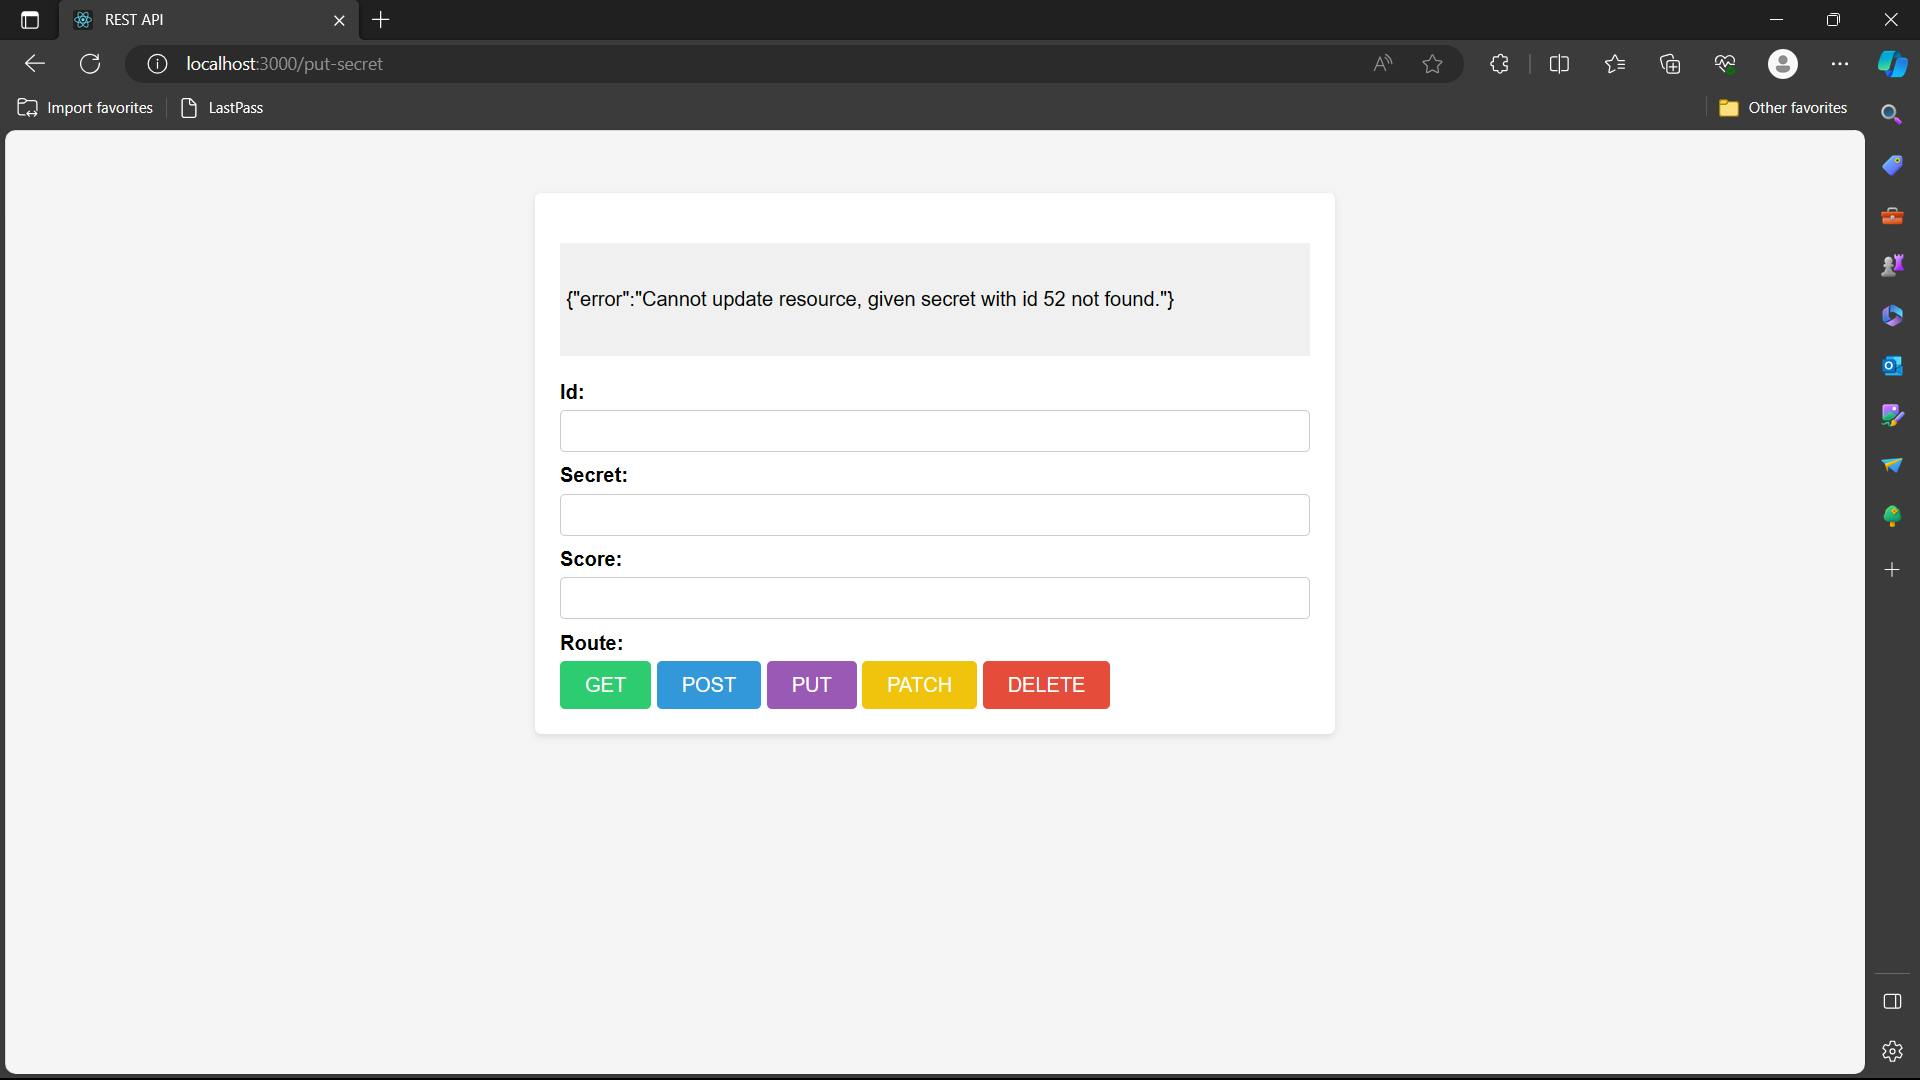
In the web application, you will update the data and hit PUT as shown below
Input
Output
Step 8 - Making of PATCH Request
PATCH is similar to PUT but it will replace only one entry in the backend which we have updated/changed.
Now PATCH has 3 parameter
URL (compulsory parameter)
data/body (optional) -> username, the password will be from the form
config (optional) -> headers
The same explanation of code as put.
Step 9 - Making of DELETE Request
DELETE is similar to PUT but it will replace only one entry in the backend which we have updated/changed.
Now DELETE has 2 parameter
URL (compulsory parameter)
config (optional) -> headers
app.post("/delete-secret", async (req, res) => {
  const searchId = req.body.id;
  try {

    //1st Parameter - URL
    //2nd Paramter - config - header - needed for authentication (Token)
    const result = await axios.delete(APIURL + "/secrets/" + searchId, config);
    res.render("index.ejs", { content: JSON.stringify(result.data) });
  } catch (error) {
    res.render("index.ejs", { content: JSON.stringify(error.response.data) });
  }
});
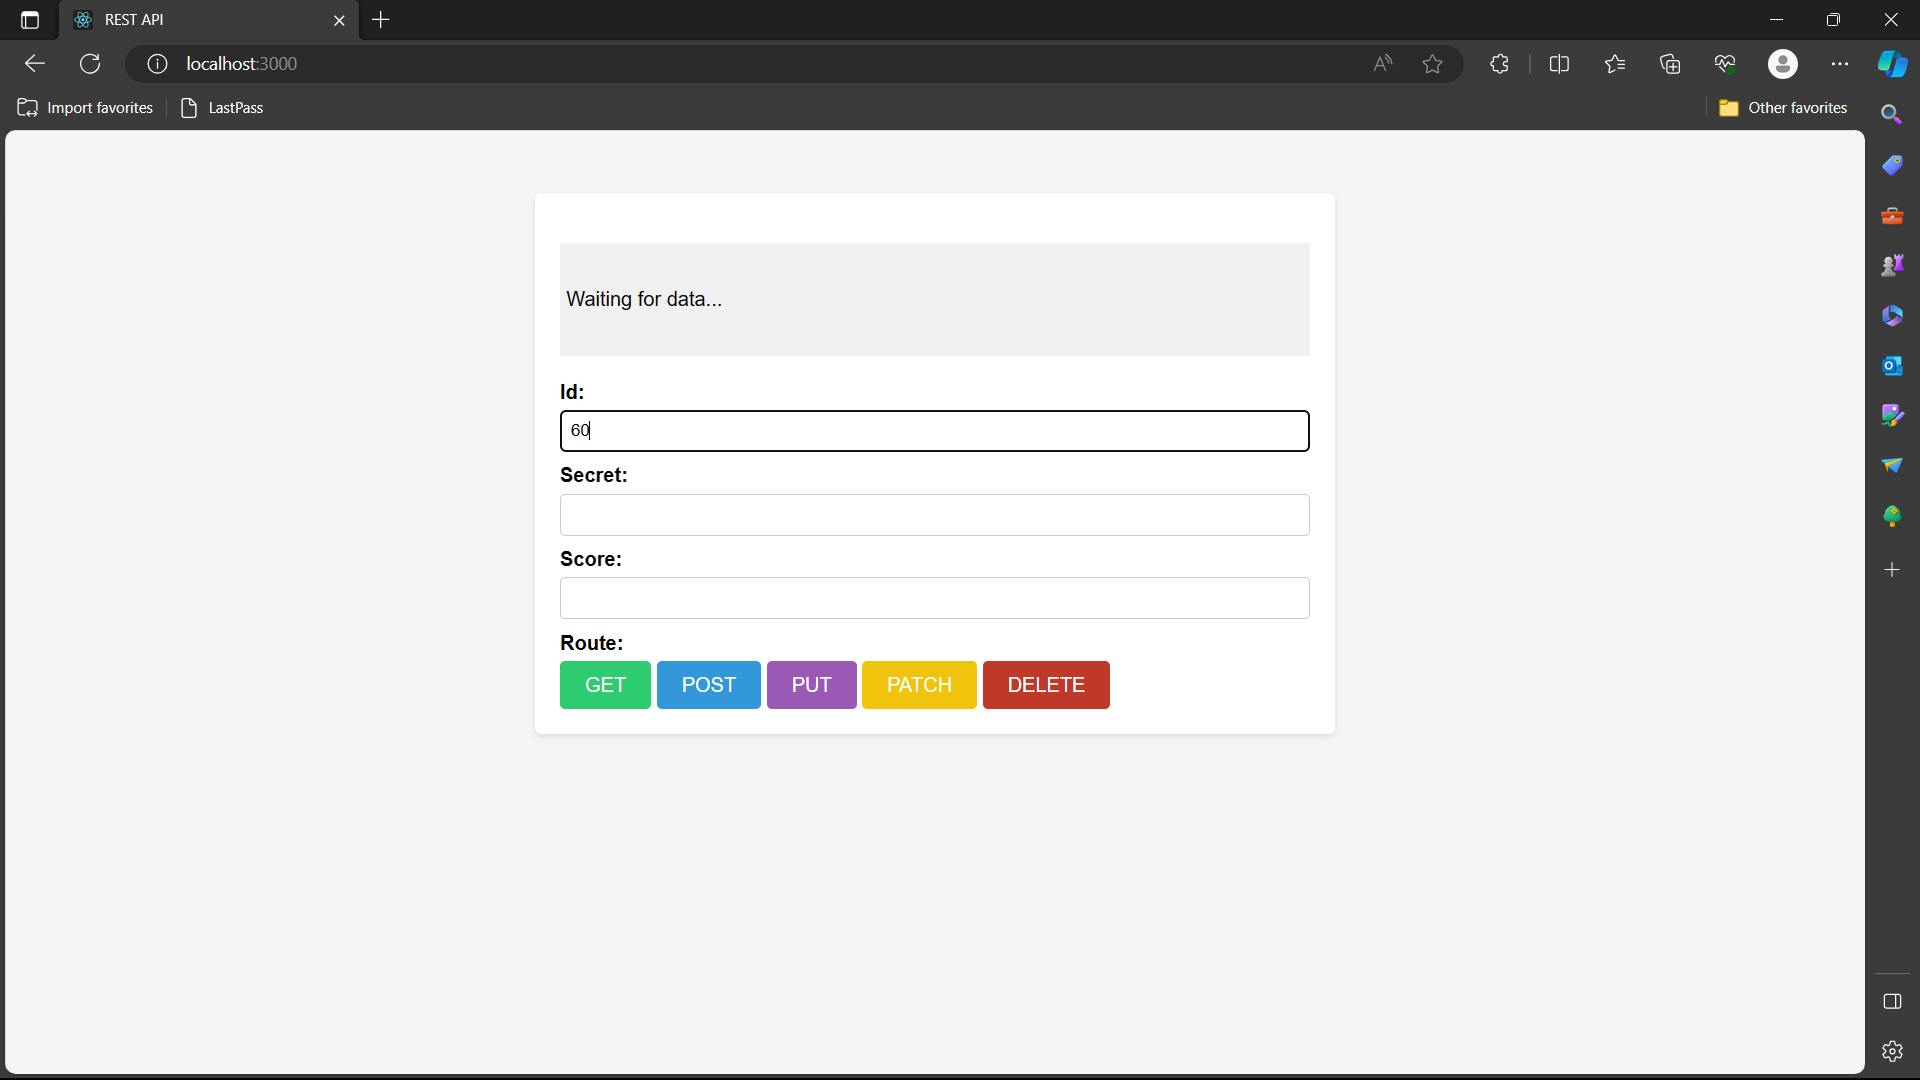
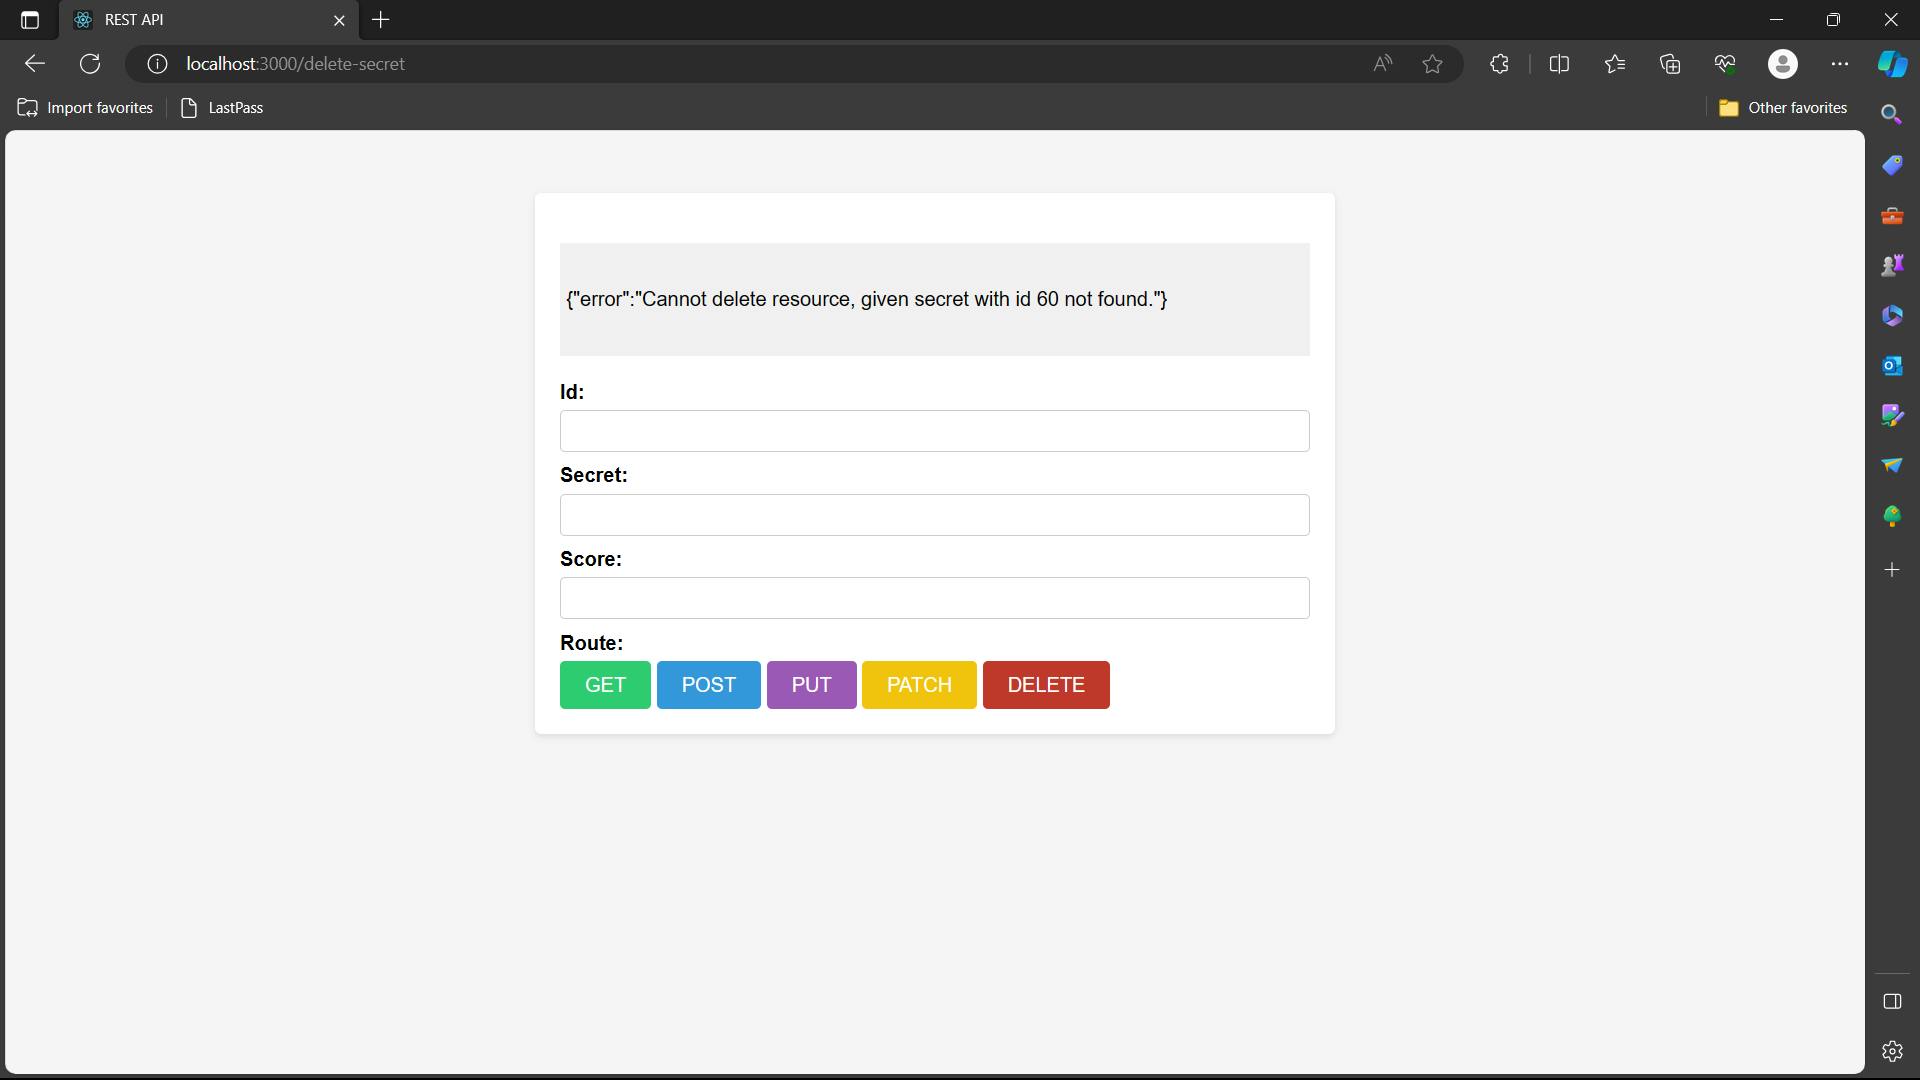
In the web application, you will write the id which you want to delete, and hit DELETE. If ID don't exist then it will show id not found as shown below
Input
Output
Source code
https://github.com/hetashridk/REST-API
Conclusion
In this article, you will see all the HTTP Protocol requests via API to the server using AXIOS.
